3 Costly Mistakes Ruining Your Expensive CNC Router Bits
Running your bits slower is more likely to break them than running them faster.
That sounds backwards when you are new to CNC. Most beginners think, “I’ll just slow everything down so I don’t break anything.” But in a lot of cases, that slower feed rate creates more heat, dulls the bit faster, and eventually leads to a broken bit.
If you are tired of replacing $30 CNC router bits, here are three costly mistakes to look for and how to fix them before your next project.
Mistake #1: Your Workholding Breaks Loose During the Cut
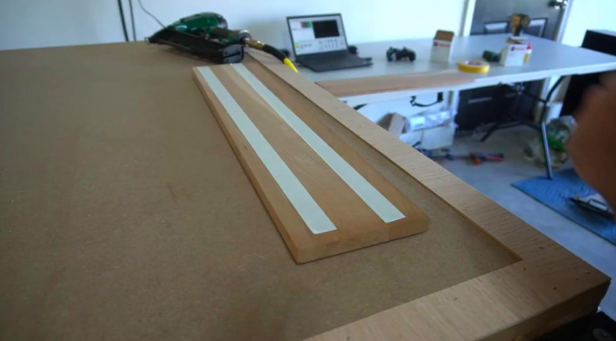
Double-sided tape can work, but screws are usually my first choice when the project allows it.
The number one way I have broken CNC bits over the years is simple: the material moved during the cut.
While your CNC is cutting, your workholding shifts, the board moves, and the bit suddenly dives into material it was not supposed to cut. That is when things go bad fast.
I noticed this even more when I moved from my Shapeoko to my Avid CNC. The workholding techniques that worked fine on the Shapeoko did not always hold up on the Avid because the machine had more force, faster feeds, and more aggressive cuts.
That is why my favorite workholding method today is basic wood screws whenever the project allows it. If the piece is screwed down properly, it is not going anywhere. That one change has drastically reduced the number of bits I break from workholding failures.
Double-sided tape can still work well, especially when the board is flat and the spoilboard is clean. Clamps can work too. But both can slip in the wrong situation. Screws are simple, cheap, and solid.
Quick Fix
Before you start the carve, ask yourself: “Can this board move at all?” If the answer is yes, stop and improve your workholding before you hit run.
Mistake #2: You Forget to Zero Your Z
This is one of those small setup steps that feels too simple to matter, until it ruins a project.
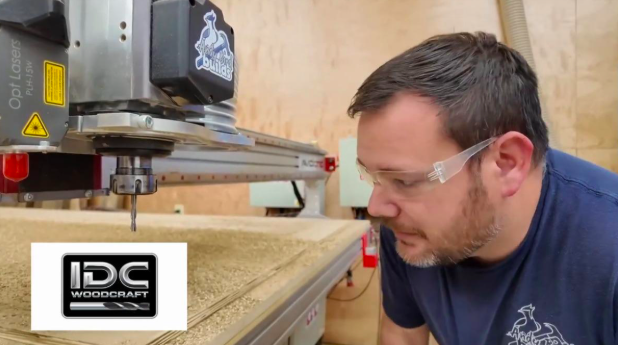
A missed Z zero can make the bit cut deeper than expected and overload the tool.
You start a job, zero X and Y, load the file, and forget to zero Z. Now your machine does not know the true top of the material. That changes the depth of cut and can send the bit too deep into the project.
When the bit cuts deeper than expected, the load goes way up. That can break the bit, ruin the project, or both.
This is why I like using a checklist at the machine. There are a lot of small steps in CNC that have to happen in the right order: home the machine, secure the material, install the correct bit, zero the machine, confirm the file, and do an air pass when needed.
The best way to stop simple mistakes is to stop trusting your memory. Use a repeatable checklist.
Quick Fix
Keep a setup checklist next to your machine and physically check off Z zero before every cut, especially after a bit change.
Mistake #3: You Run Your Bits Too Slow
This is the mistake that surprises people the most.
When you run the feed rate too slow, the bit spends too much time rubbing instead of cutting. That creates heat. Heat dulls bits faster, shortens the life of the cutting edge, and can eventually make carbide brittle enough to snap.
If you finish a job and the bit is too hot to touch, that is a warning sign. Carbide does not like heat.
A lot of hobby CNC users can run their bits faster than they think. Sometimes that might mean 10 percent faster. Sometimes 20 or 30 percent. On the right machine, with the right bit, material, and workholding, it can be even more.
This does not mean you should blindly crank everything up. Feeds and speeds are starting points only. Your machine rigidity, bit diameter, material, depth of cut, and workholding all matter. But going too slow is not automatically safer.
What to Look For: Chips, Not Dust
One of the easiest ways to know if your bit is cutting well is to look at what comes out of the cut.
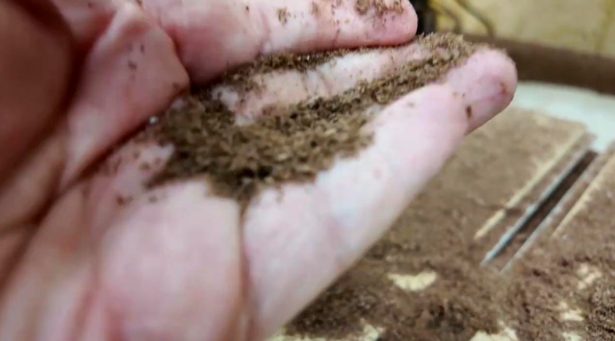
Look for chips, not fine dust. Chips help carry heat away from the bit.
You want chips, not fine dust. Chips help carry heat away from the bit. Fine dust tends to pack into the cut, especially with deep profile cuts and downcut bits, and that can cause the bit to recut the same material over and over.
If you are making mostly fine dust, you may need to increase your feed rate while keeping RPM the same. Or, you may need to lower RPM while keeping feed rate the same.
The key is the relationship between how fast the bit moves through the material and how fast it spins. Larger diameter bits usually need slower RPMs. Smaller diameter bits usually need faster RPMs.
Quick Fix
Pay attention to the chips. If you are making powder, the bit is likely rubbing too much. Adjust your feed rate or RPM so the bit takes a real bite and carries heat away from the cut.
The Takeaway
Most broken CNC router bits are not caused by a normal straight pass through the material. They usually break when something goes wrong.
The material shifts. Z zero is wrong. The bit overheats because it is rubbing instead of cutting.
Fix those three things and you will save money, get longer life from your bits, and understand what is actually happening when a cut goes bad.
Before your next project, check your workholding, confirm your Z zero, and make sure your bit is making chips instead of dust.
Want a simple way to stop missing the small setup steps? Download the free Perfect Project Checklist and keep it next to your CNC before you hit run.
Get it here: https://thecncsidehustle.com/checklist/